A comfortable home office isn’t about expensive gear—it’s about aligning your chair, desk, screen, and daily habits to fit your body. Small changes can reduce strain, help you stay focused longer, and make the end of the day feel less “worn out.” Use the checklist-style steps below to dial in posture support, monitor placement, lighting, and break routines so your setup works with you, not against you.
Before adjusting anything, take a quick snapshot of how your body reacts during a normal work stretch.
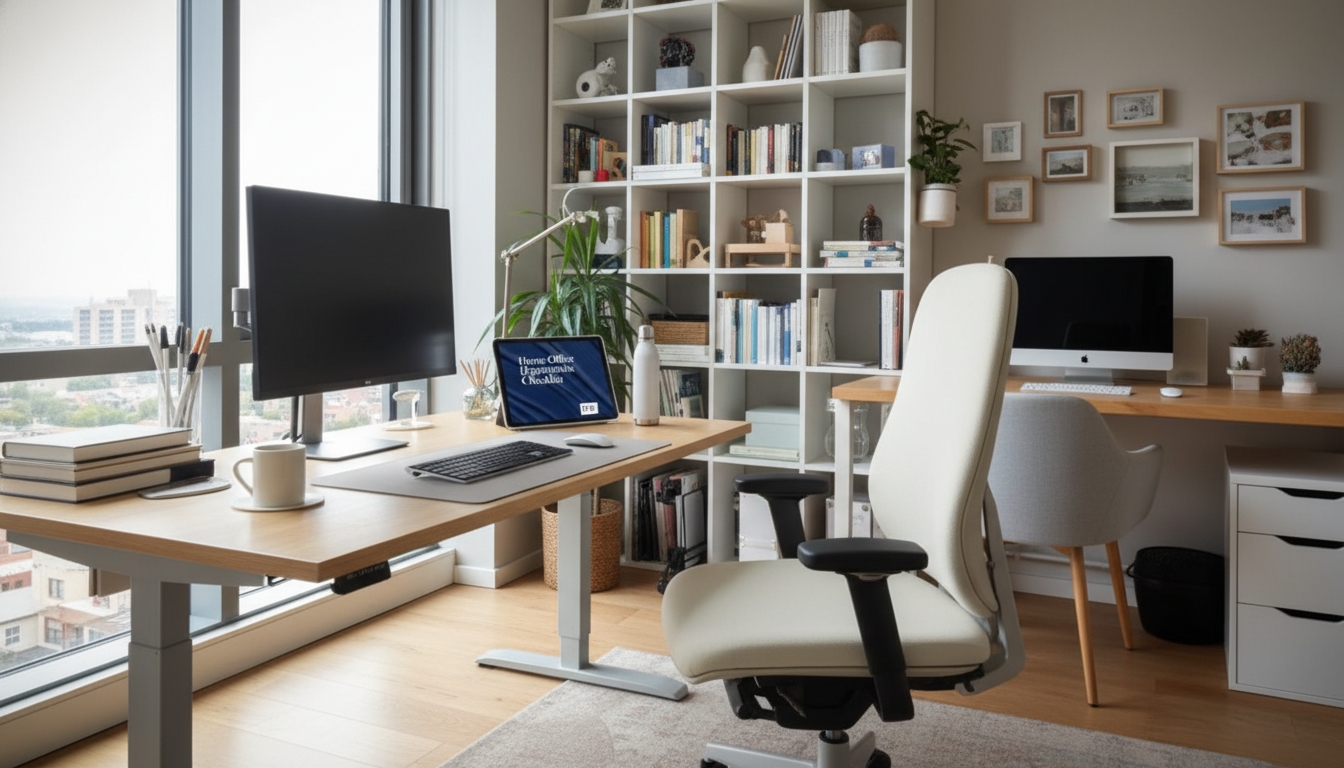
If you want a ready-to-save version of these steps for quick daily resets, the Home Office Ergonomics Checklist (digital download) can live on your desktop or be printed and kept near your workspace.
Think “foundation first.” When your feet, hips, and back are supported, your shoulders and neck stop working overtime.
| Body area | Target position | Common sign it’s off |
|---|---|---|
| Feet | Flat and supported | Legs dangling or pressure under thighs |
| Hips/Knees | Hips level with or slightly above knees | Knees higher than hips; low-back rounding |
| Elbows | Close to sides, ~90–110° bend | Reaching forward; shoulder tension |
| Wrists | Neutral (not bent up/down) | Wrist ache, tingling, or forearm tightness |
| Head/Neck | Ears roughly over shoulders | Chin jutting forward; neck stiffness |
Most desk discomfort comes from subtle reaching and hovering—especially when the keyboard is too far away or the mouse sits off to the side.
A simple test: while typing, your elbows should feel “heavy” and close to your sides—not floating forward. If you notice upper traps tightening, pull your input devices closer before changing anything else.
| Setup element | Good starting point | Easy adjustment |
|---|---|---|
| Screen distance | Arm’s length | Increase font size before moving too close |
| Top of screen | At or slightly below eye level | Use a monitor stand or sturdy riser |
| Viewing angle | Slight downward gaze | Tilt monitor back a few degrees if needed |
| Glare | Minimal reflections | Rotate desk/monitor or add a light-diffusing shade |
For deeper guidance on workstation fundamentals, review OSHA’s Computer Workstations eTool and the Mayo Clinic office ergonomics guide.
| Time block | What to do | Why it helps |
|---|---|---|
| Every 20–30 minutes | Posture reset + distance look-away | Reduces muscle fatigue and eye strain |
| Every 60 minutes | 2–5 minutes of movement | Improves circulation and decreases stiffness |
| Midday | Short walk + shoulder/hip mobility | Offsets prolonged sitting patterns |
If you share your workspace with pets, keeping cords, chargers, and breakable desk items organized can prevent awkward reaching and sudden “save the coffee” reactions. The Pet-Proof & Pretty home décor checklist for workspaces shared with pets can help you build a calmer, less cluttered setup.
For additional background on how ergonomics supports musculoskeletal health, see NIOSH guidance on ergonomics and musculoskeletal disorders.
Prioritize the change that removes the biggest strain signal: often monitor height for neck tension, better chair/lumbar support for low-back fatigue, or bringing the keyboard and mouse closer for shoulder and wrist discomfort. Make one adjustment, test it for a day or two, then refine.
Raise the laptop screen to near eye level using a stand or sturdy books, then use an external keyboard and mouse to keep wrists neutral. This reduces prolonged “head down” posture that commonly drives neck and upper-back strain.
Use micro-breaks every 20–30 minutes to reset posture and rest your eyes, plus a longer movement break about once an hour. The goal is frequent position changes rather than one long stretch session at the end of the day.


Leave a comment